Technical Details About our Webcam
If you are curious about how our webcam works, here is a technical description of the system that puts our view on your computer. This includes the camera, the mechanical stuff, the software that we used to put it together, and how we connect it to the internet.
View
T
he Webcam is operational daily and it updates every 10 minutes from dawn to dusk.
I try to leave the camera pointing at the same place but during the maintenance we might not get it exactly back to it's original location.
In the spring and summer (about March to October), the camera azimuth points south (167°) and the altitude at -10°.
During the fall and winter months (October to March) when the sun is low in the sky, I point the camera altitude lower (about -40°) to protect the camera from the sun burning the CCD.
Camera & Lens
We are using an Olympus Model C-5050 Zoom - 5 Megapixel digital camera. This camera was introduced in 2002 and had a list price of $799. Now they are discontinued and can be found on eBay or Craigslist for $10 - $50. The lens is a - 7.1 ~ 23mm, F1.8 ~ F8 (Equivalent to 35 ~ 105mm lens in 35mm). It will zoom to 10X (3X optical and 3.4 digital). The camera has a measured angle of view of 60° horizontal, and 45° vertical. I attached a 52mm circular Polarizing Lens Filter to the front of the camera to help normalize the colors.
This camera can be placed in the "PC" mode which allows all of its features to be controlled by software running on a personal computer through the camera's USB port.
The camera gets its power from an AC Adaptor that is controlled by a 24 hour timer to only apply power to the camera during the time that I want it to be working. This also gives the camera a chance to boot up every day.
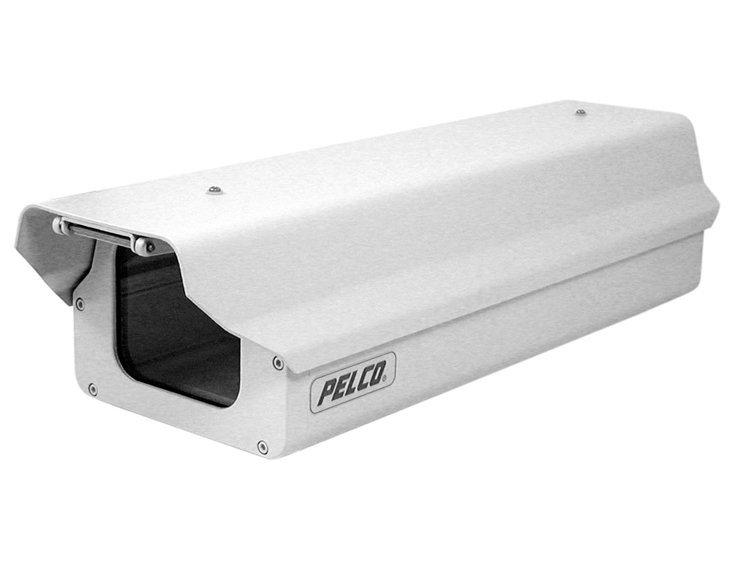
Enclosure
I started with a Pelco EH4718-1 environmentally controlled camera enclosure (I got it from ebay). This enclosure comes from Pelco with an internal fan, two heaters, and a window defroster.
A thermostat is set to turn the fan on between 77° and 93°F (25° and 34°C) and to turn the fan off
between 62° and 78°F (17° and 26°C). Another thermostat is set to turn the heaters and defroster on between 42° and 58°F (6° and 14°C) and to turn them off between 72° and 88°F (22° and 31°C).
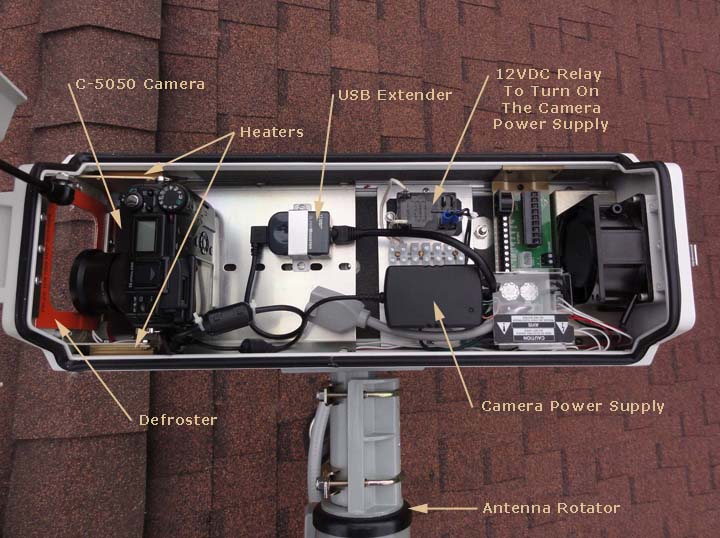
I mounted the camera and the a USB booster inside the enclosure. This is the top view looking inside with a discription of the key components. You can see by this front view that the camera lens is offset.
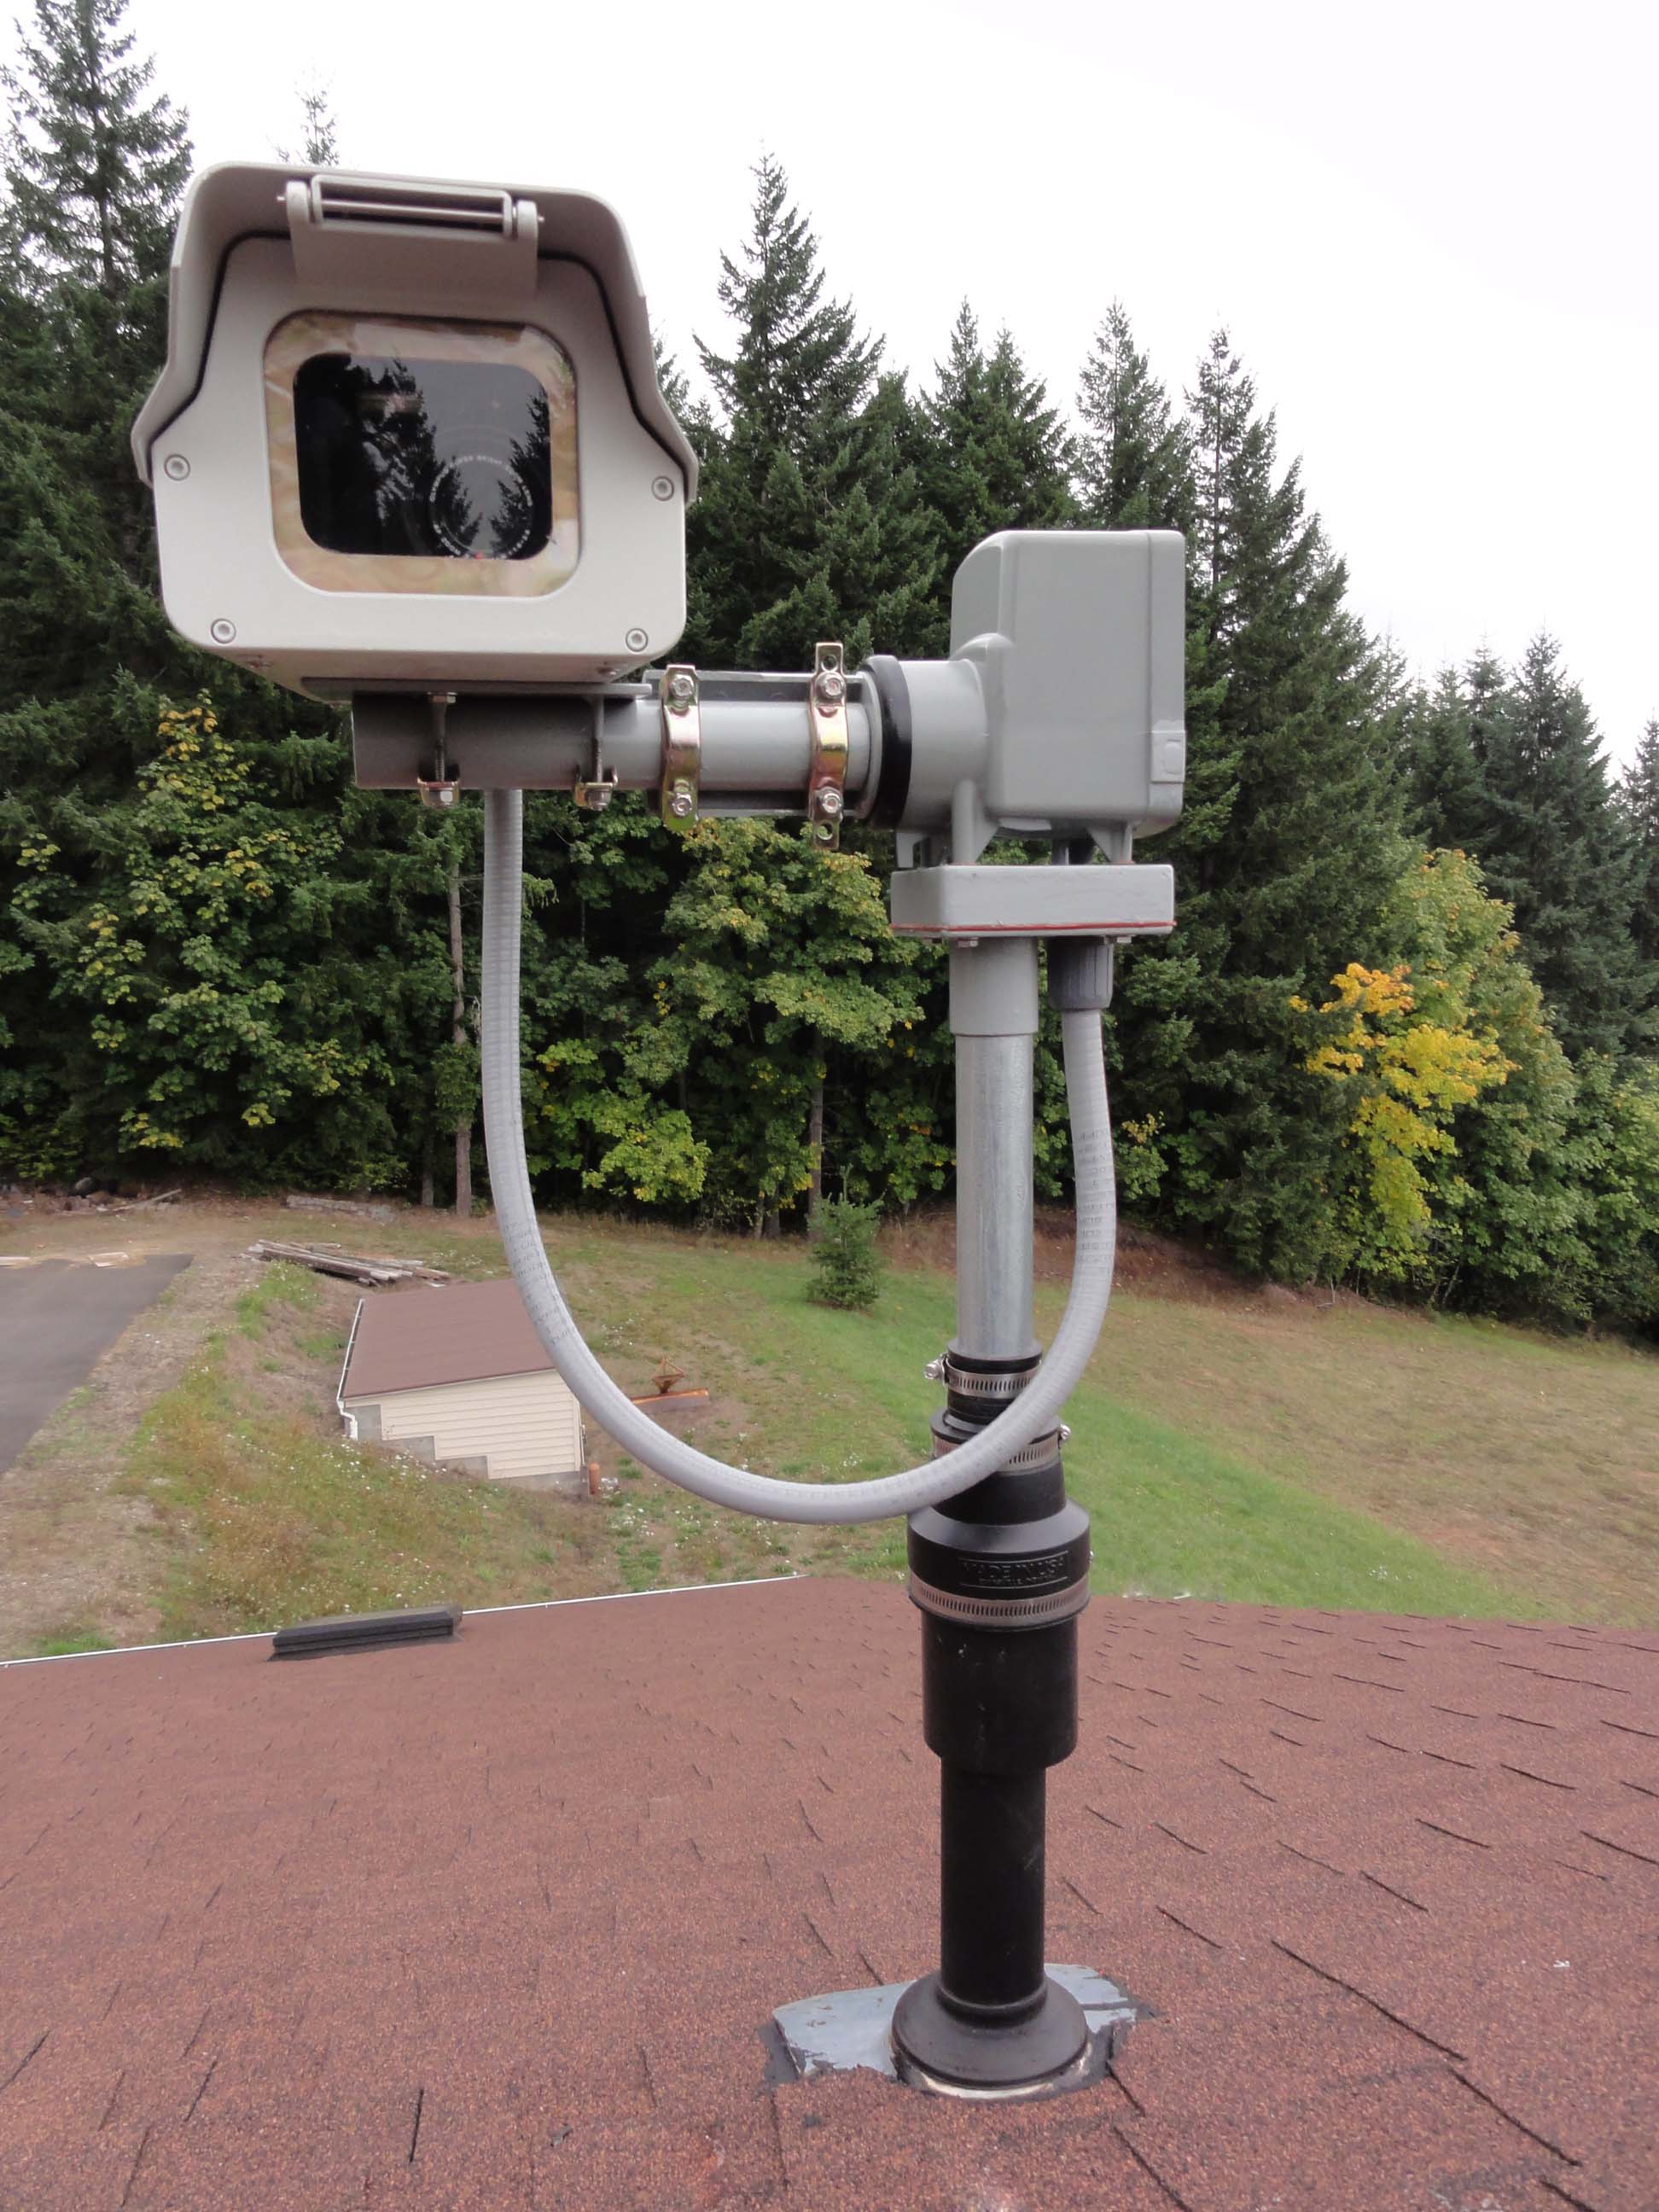
Mounting, Pan/Tilt
I attached the camera enclosure to the top of a bracket I fabricated so I could move where the camera is looking (Pan & Tilt) . I am able manually position the camera anywnere I want it to point.
To perform any maintenance or adjustment, the tower can be tipped over and the work can be done at a safe, comfortable position.
Electrical Wiring
There are three cables that run from the computer inside a cabinet in the shop to the camera enclosure on top of the first tower section. These cables are: 1. CAT-7 flat ribbon cable, 2. Camera power supply (6.5VDC), and 3. 120 VAC for the heater & defroster. These cables travel inside a 1/2" PVC conduit fastened to one of the tower legs with Ty-Wraps.
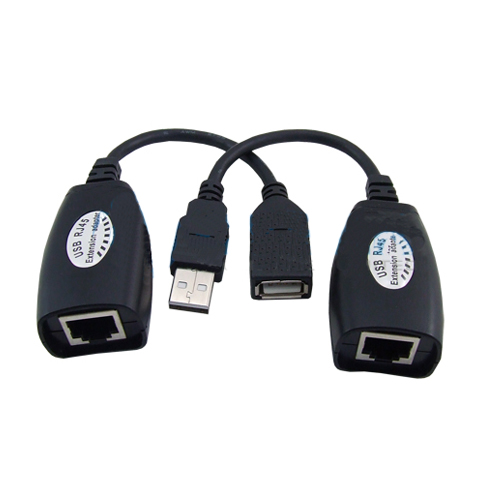
Moving the Images from the Camera to the Server
The Camera is connected from it's USB connection through a USB Extender, then through a shielded CAT-7 cable about 30 feet away in the cupbord in our shop, to an older dedicated PC, a Dell Optiplex 320, running Windows XP Pro.
The software that I use to control the camera is VM95 from Erdman Video Systems. I got this software several years ago when I first put up my Webcam. It was free and only had a limited amount of functions. It only runs under Windows XP and has quite a lot of control of the camera. Erdman stopped provided this software ane
Every 10 minutes the software will capture a new 1024 x 768 JPEG image, add the overlay text and the date-time stamp to the image, copy a serialized image to the hard drive of the PC and upload another compressed image (view.jpg) by secure FTP to the web server. One of the features of this software is that it starts when the computer is turned on. I changed my computer CMOS Setup (Power Management) (PWRON After PWR Fail) from "Off" to "On". Now when the computer comes back on after a power outage, the computer will start, the camera will boot up, the software will start, and the system will start taking pictures and uploading them to our server automatically.
How we Connect to the Internet
Our computer is connected to the internet with a Motorola Canopy 5.3 GHz wireless networking system. The providers antenna is located 3.9 miles away and the connection to the internet is typically 25 Mbps download with 5 Mbps upload.
If you have any questions or suggestions about our WebCam, please feel free to contact us!